Friday 19 July 2013

What's in My Sewing Basket?

Hi everyone!

Some of you may have noticed that many beauty bloggers and YouTubers are making blogs on the contents of their makeup bags, so I thought: why don't I do one on my sewing basket? So this post is partly inspired by Kat's post from Collar Block a few days ago (check out her blog - she's fab!) and partly inspired by bloggers such as Zoella and Tanya Burr.

 
I picked up my basket from a vintage fair for just £4. It was already painted, but this was faded slightly so it had a shabby chic look to it straight away, which I love. I've attached some lace around the rim of the basket which makes it look nice and vintage.


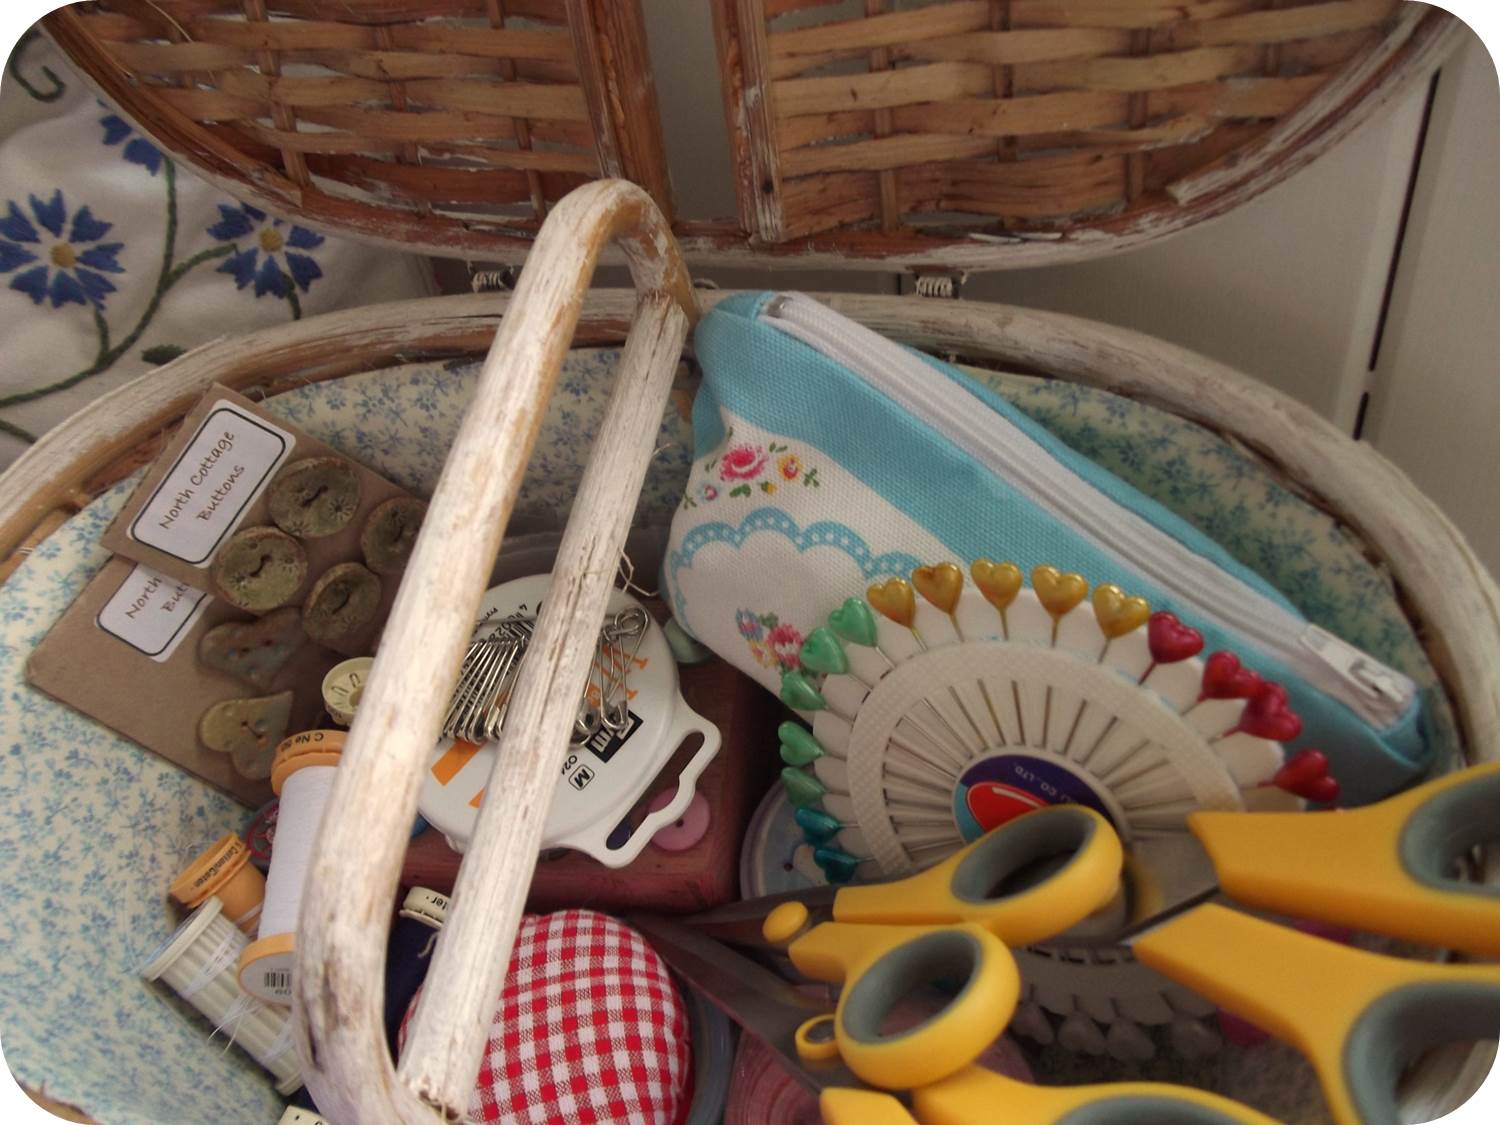
It probably looks like I haven't got much in it, but I cannot possibly fit all of my ribbon and buttons into it as well, so this sewing basket is mainly for sewing equipment.

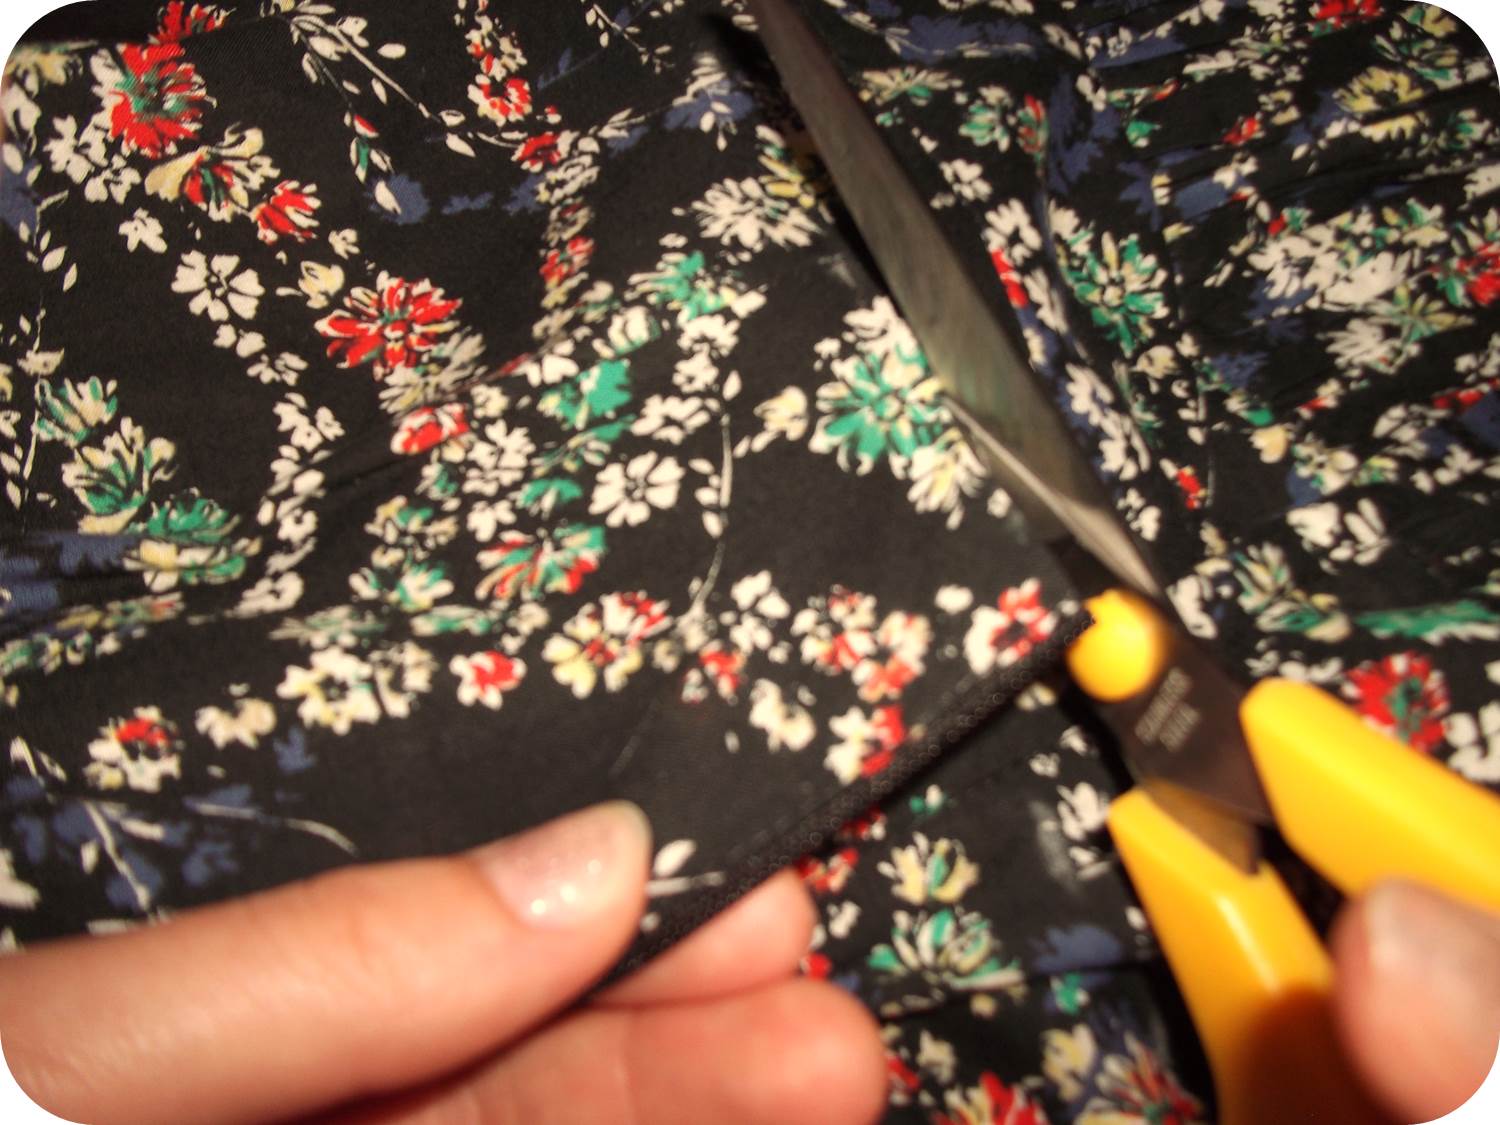
I have three pairs of scissors that I use for every project:


I tend to use the large ones for cutting through really thick fabric, medium ones for light fabric, and the small ones for cutting threads or cutting out intricate shapes for applique etc..

Here I have some ball point pins; safety pins; a pretty red gingham pin cushion; and pins with hearts on the top (shown in my blog post 'I'm Back'). I use the heart pins for thicker fabric and larger projects, and the smaller pins for little projects, lightweight fabric and in projects where I have a lot of pinning to do as I have more of these pins!


Next I have these cute little Christmas tins that I have had for years - one is filled with pearl beads and key rings, whilst the other is filled with bobbins, tailor's chalk and measuring tape. Tins and jam jars of all shapes and sizes are perfect for keeping buttons, ribbon, beads and all sorts in so keep a look out for some in flea markets and vintage fairs! I've also got some pink bias binding from Ebay which I intend to use for bunting in a future post.


The picture below shows a pink 'button' box which I made. In this I put ceramic buttons which I have received over the last couple of years. It also shows these lovely handmade ceramic buttons from North Cottage Buttons - I bought these at a craft fair a couple of years ago.


This is my little collection of cotton - mostly from Gutermann as I find that these are very good quality and you can purchase them from most haberdashery stores. I also have a few reels that I have collected from sewing kits. You can see in the picture that I have a nice stash of plastic resealable bags that you often find on clothing with spare buttons/beads in for your garment. I find these so useful to put safety pins or needles and bits of thread if I'm going away, or even for earrings.


Finally, I have my Cath Kidston purse which I made and embroidered using the 'Stitch' book - all the material and thread came with it. In here I like to put my needles, elastic and packets of beads and sequins, as well as a spare measuring tape and a small pair of scissors.

 
The picture below shows the lining of my basket. I bought the basket along with this fabric which I bought for £5 and it was about 2.5m long! I made the lining by sewing four trapezium-shaped pieces together into a ring, and then sewed this to an oval shape for the base and sewed this to the basket through the holes. It was quite fiddly but I think it looks lovely!

 
I hope you liked this post. Sorry it is so long - it seems I have more in my sewing box than I thought! 

Have a great summer!

Helen xx

Monday 8 July 2013

How to Turn a Dress into a Skirt

Hello!

Last week, I went through my wardrobe and discovered this dress (shown below) which is really lovely, but the top didn't fit me very well and the skirt was a little too short for my liking, so I thought I would change it into a skirt and show you how I did it.

 
I love the print of the dress - cutting off the top means I can keep some of the fabric!

This dress had a long zip down the back, so the zip could be cut and still be used in the skirt.

Firstly, I measured and drew out a line using a tape measure and tailor's chalk, 2cm from the top of the waistband, the whole way around the dress.


Then, with large fabric scissors, I cut along the line very carefully, through the zip and making sure that I didn't cut through the ties attached to the waist band as I wanted to keep these for the skirt (I've drawn a quick diagram below in case I haven't explained it very well).


Next, I folded down the 2cm part by 1cm, so that the raw edge was on the wrong side of the fabric and pressed this into place.


Once I had done this, I folded this over again by 1cm, so that, from the front, only the waistband was visible. I pressed this with the iron.


I then pinned the hem down. For the zip, I unpicked the stitches which held the zip to any fabric which was above the waistband, and then folded it down, and then folded the hem over it so it was neat and concealed.


Using slip stitch, I sewed down the hem, meaning that it is comfortable to wear and neat on the inside. You can use a sewing machine for this stage, if you would like. After doing this, I pressed the hem again, as well as the whole thing.

And there you have it - a pretty skirt made from a dress!


The fabric of this dress means that the skirt is really light and floaty - so perfect for this summer (and made just in time!) and the tie at the back looks really pretty.

Hope you liked this post! Feel free to comment below and let me know if you have ever transformed your clothes into something else. Enjoy the summer!

Helen xx